Liquibase
This document describes how to migrate data using Liquibase with YugabyteDB.
Prerequisites
To use Liquibase with YugabyteDB, you need the following:
- JDK version 8 or later.
- YugabyteDB version 2.6 or later (see Quick start).
- Liquibase (see Download Liquibase). For information on how to extract the package and configure Liquibase, see Configuring Liquibase.
- Liquibase-YugabyteDB extension JAR (access liquibase-yugabytedb repository and download the latest
liquibase-yugabytedb-.jar). The driver must be located in the/libsub-directory of the directory to which you extracted Liquibase. - PostgreSQL JDBC driver (see PostgreSQL JDBC driver). The driver must be located in the
/libsub-directory of the directory to which you extracted Liquibase.
Configure Liquibase
You configure Liquibase as follows:
-
Extract the
.tarfile into a new directory by executing the following command:tar -xvf liquibase-<version>.tar.gz -
Add the Liquibase path as an environment variable on your local computer by executing the following command:
echo "export PATH=$PATH:/<full-path>/liquibase-<version>" >> ~/.bash_profile

source ~/.bash_profile
If your terminal does not run
.bash_profileon startup, you can append the Liquibase path to thePATHdefinition in.bashrcor.profile. -
Verify the installation by executing the following command:
liquibase --version -
Create a changelog file called
master-changelog.xmlby executing the following command:touch master-changelog.xmlLiquibase uses this file to perform changes on the database schema. This file contains a list of instructions (changesets) that are executed against the database. Note that currently, the following changesets are not supported by Yugabyte:
addUniqueConstraint,alterSequence,dropPrimaryKey,dropUniqueConstraint,renameSequence; in addition, Liquibase Pro changesets have not been tested against YugabyteDB.Changelog files can be created as
.xml,.sql,.yaml, and.json.Add the following code to the
master-changelog.xmlfile:<?xml version="1.1" encoding="UTF-8" standalone="no"?> <databaseChangeLog xmlns="http://www.liquibase.org/xml/ns/dbchangelog" xmlns:ext="http://www.liquibase.org/xml/ns/dbchangelog-ext" xmlns:pro="http://www.liquibase.org/xml/ns/pro" xmlns:xsi="http://www.w3.org/2001/XMLSchema-instance" xsi:schemaLocation="http://www.liquibase.org/xml/ns/dbchangelog-ext http://www.liquibase.org/xml/ns/dbchangelog/dbchangelog-ext.xsd http://www.liquibase.org/xml/ns/pro http://www.liquibase.org/xml/ns/pro/liquibase-pro-4.1.xsd http://www.liquibase.org/xml/ns/dbchangelog http://www.liquibase.org/xml/ns/dbchangelog/dbchangelog-4.1.xsd"> <changeSet author="abc" id="1"> <createTable tableName="actor"> <column autoIncrement="true" name="id" type="INTEGER"> <constraints nullable="false" primaryKey="true" primaryKeyName="actor_pkey"/> </column> <column name="firstname" type="VARCHAR(255)"/> <column name="lastname" type="VARCHAR(255)"/> <column name="twitter" type="VARCHAR(15)"/> </createTable> </changeSet> </databaseChangeLog> -
In the same directory where you created the
master-changelog.xmlfile, create a file calledliquibase.propertiesby executing the following command:touch liquibase.propertiesAdd the following to the
liquibase.propertiesfile:changeLogFile:master-changelog.xml url: jdbc:postgresql://localhost:5433/yugabyte username: yugabyte password: yugabyte classpath: <relative-path-to-postgres-jar>/postgresql-42.2.8.jar:<relative-path-to-liquibase-yugabytedb-<version>-jar>/liquibase-yugabytedb-<version>.jarDefining the classpath is necessary if you have placed the JAR files in a folder other than
/lib. For more information, see Creating and configuring the liquibase.properties file.When using the YugabyteDB on-premises and specifying the URL, enter your IP address or host name, and then include the port followed by the database name, as per the following format:
jdbc:postgresql://<IP_OR_HOSTNAME>:<PORT>/<DATABASE>When specifying the classpath for the PostgreSQL driver, ensure that the version matches the version of the downloaded driver. The default username and password is
yugabyte.
Use Liquibase
You can run Liquibase to perform migration by executing the following command:
liquibase update
Optionally, you may run a different changelog than the one provided in the liquibase.properties file by using the following command:
liquibase --changeLogFile=different_changelog.xml update
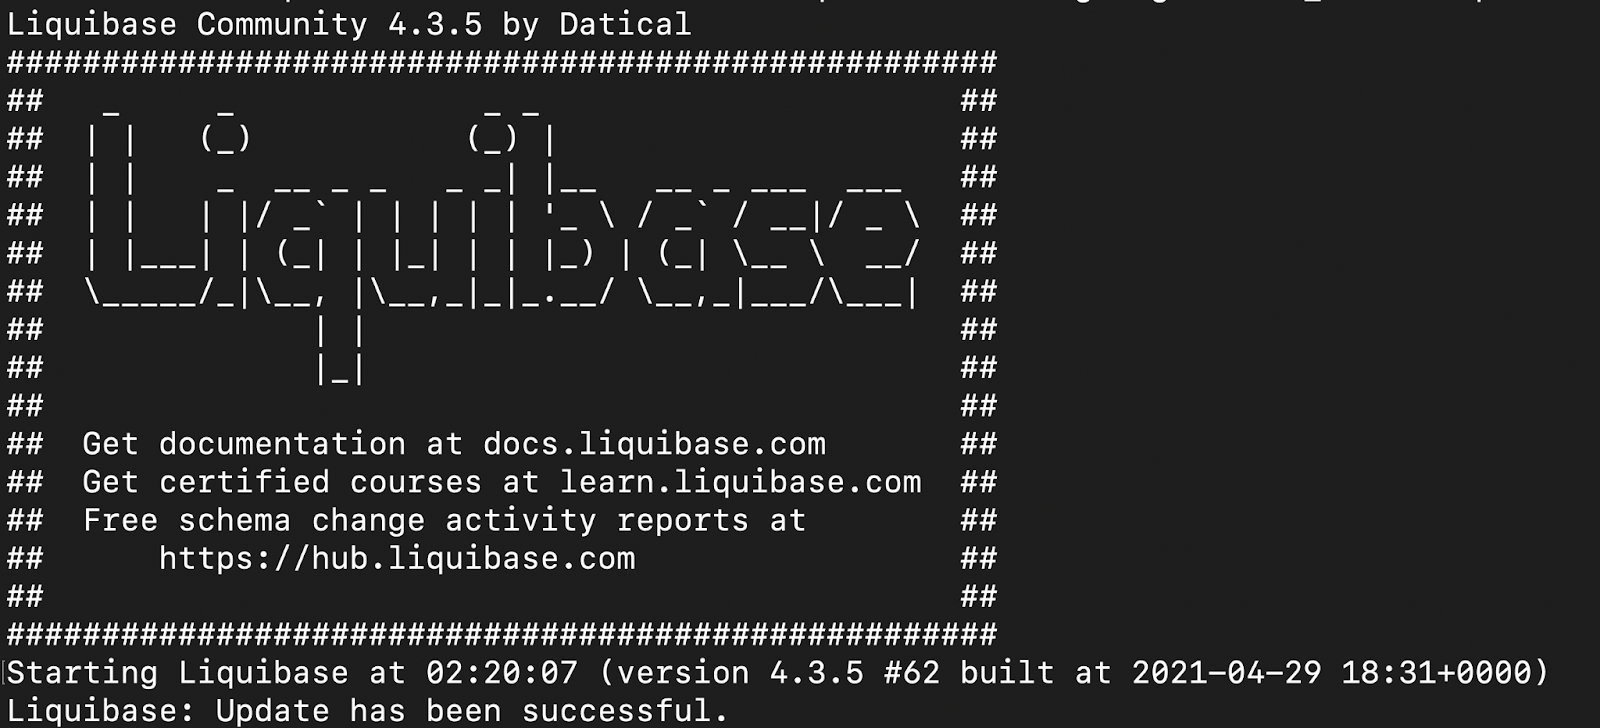
Upon successful migration, the following is displayed:

After migration of the first changelog, among other artifacts Liquibase creates a databasechangelog table in the database. This table keeps a detailed track of all the changesets that have been successfully completed.